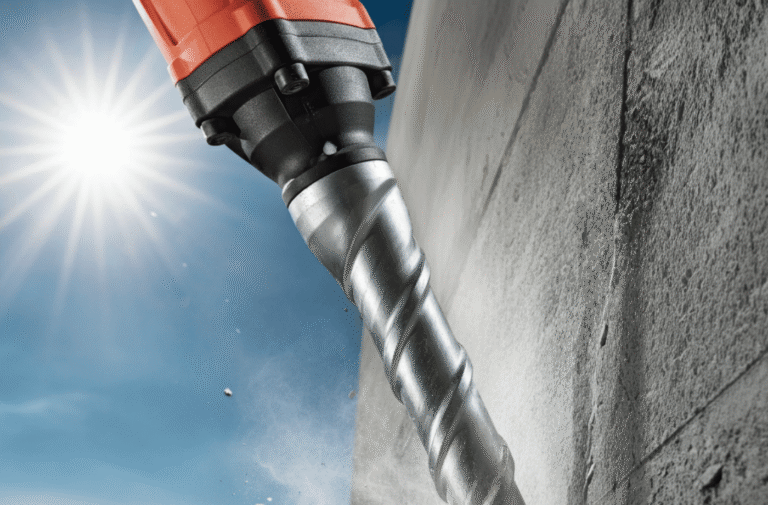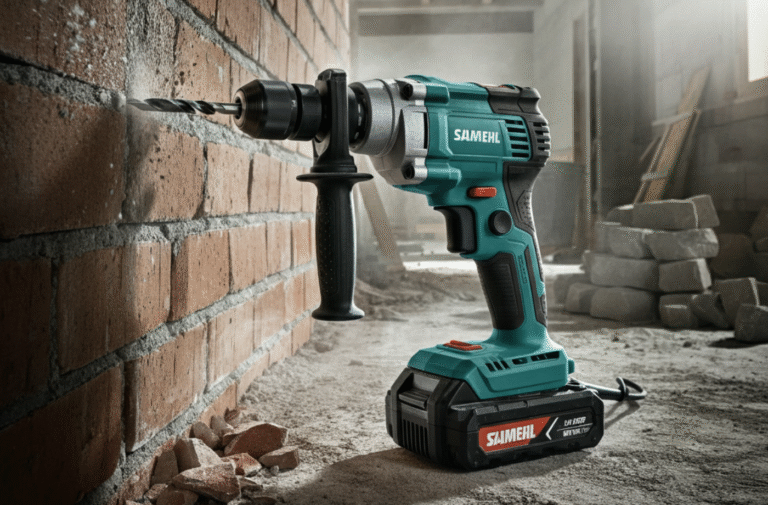
SDS drill bits are a go-to tool for professionals and DIY enthusiasts alike, designed for tackling tough materials like concrete, brick, and stone. But even the toughest tools have their limits. Without proper care, your hardworking SDS drill bits could wear down faster than expected, costing you time and money on replacements.
Want to get the best return on your investment? You’re in the right place. This guide will walk you through proven tips to extend the lifespan of your SDS drill bits and keep them performing their best for longer.
Why Taking Care of Your SDS Drill Bits Matters
Buying high-quality SDS drill bits doesn’t come cheap, and whether you’re using them for construction, renovations, or DIY home improvement, taking a few preventive measures can save you significant costs in the long run. Proper maintenance translates to fewer replacements, higher efficiency, and consistently excellent results on your projects.
Here are 7 simple but effective ways to make your SDS drill bits last longer.
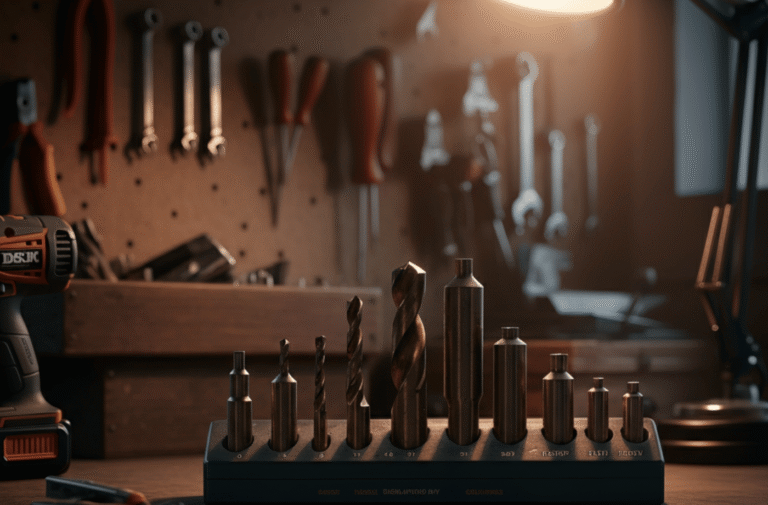
1. Choose the Right Drill Bit for the Job
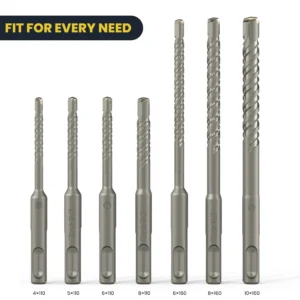
Not all SDS drill bits are created equal, and using the wrong one for a task can lead to premature wear and even breakage. To prolong the lifespan of your bits, ensure they’re suited for the material you’re working with.
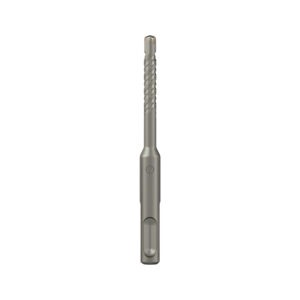
- Standard SDS Bits: Ideal for general-purpose drilling into soft concrete or brick.
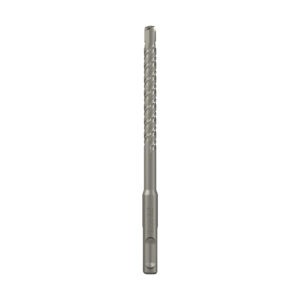
- SDS Plus Bits: Perfect for tougher materials like reinforced concrete and natural stones.
- Specialized Bits: For jobs like chiseling or tile removal, use pointed or flat chisel SDS bits instead of standard ones.
Check the manufacturer’s guidelines to ensure you’re using the right tool for your application.
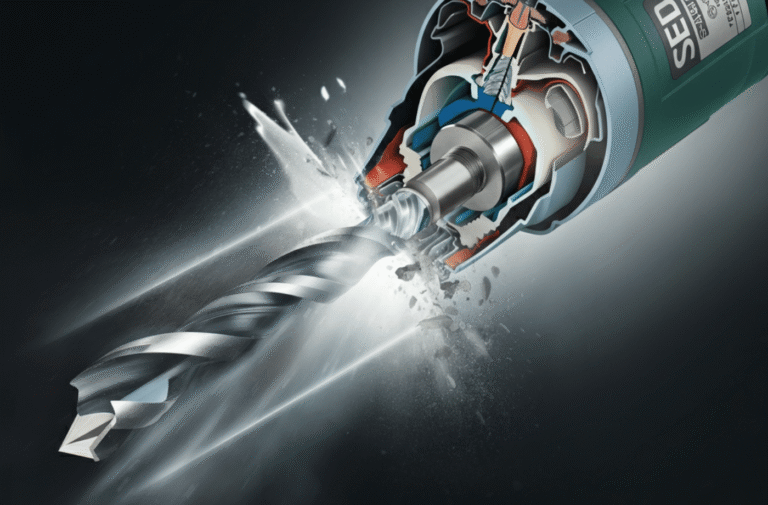
2. Don’t Overheat Your Bits
Heat is the enemy of any cutting tool. Excessive friction during drilling generates heat, which dulls the cutting edge and weakens the tool over time. To avoid overheating, follow these tips:
- Drill in short bursts to give the bit a chance to cool down.
- Use a lubricant or water to reduce friction when drilling through difficult materials.
- Make sure your drill uses the appropriate RPM settings for the material at hand.
If you notice smoke or discoloration, that’s a clear warning sign your bit is overheating. Stop immediately and allow it to cool.
3. Clean Your Drill Bits Regularly
After every project, take a few minutes to clean your SDS drill bits. Dust, debris, and caked-on materials can wear down your bit faster by adding unnecessary friction during use.
- Use a stiff brush to remove debris from the flutes (the grooves along the bit).
- Wipe the drill bit with a dry or slightly damp cloth to remove fine dust.
- Avoid using harsh chemicals that might corrode the material of the bit.
Clean bits don’t just last longer; they also perform better, ensuring smoother and more accurate drilling.
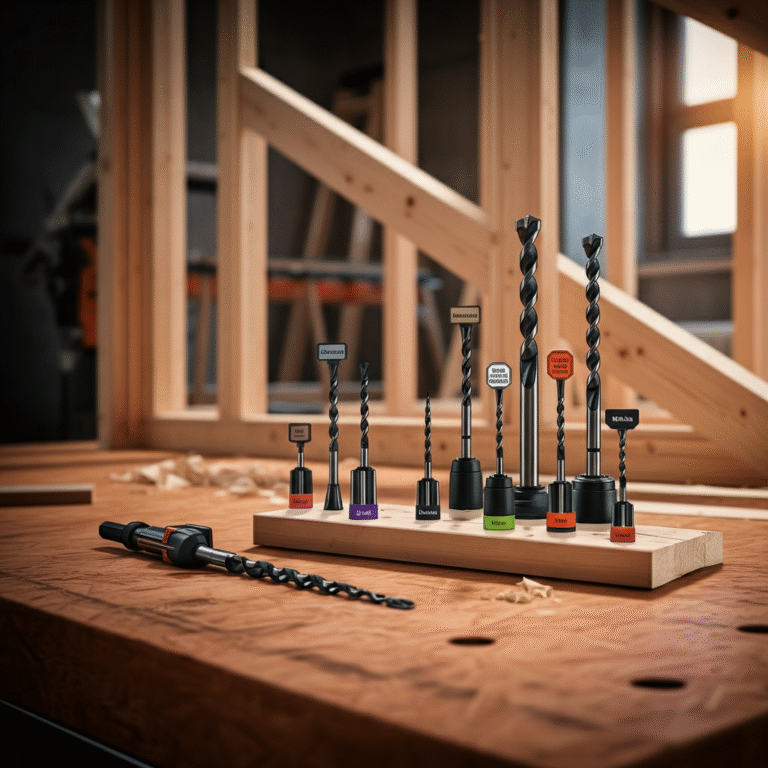
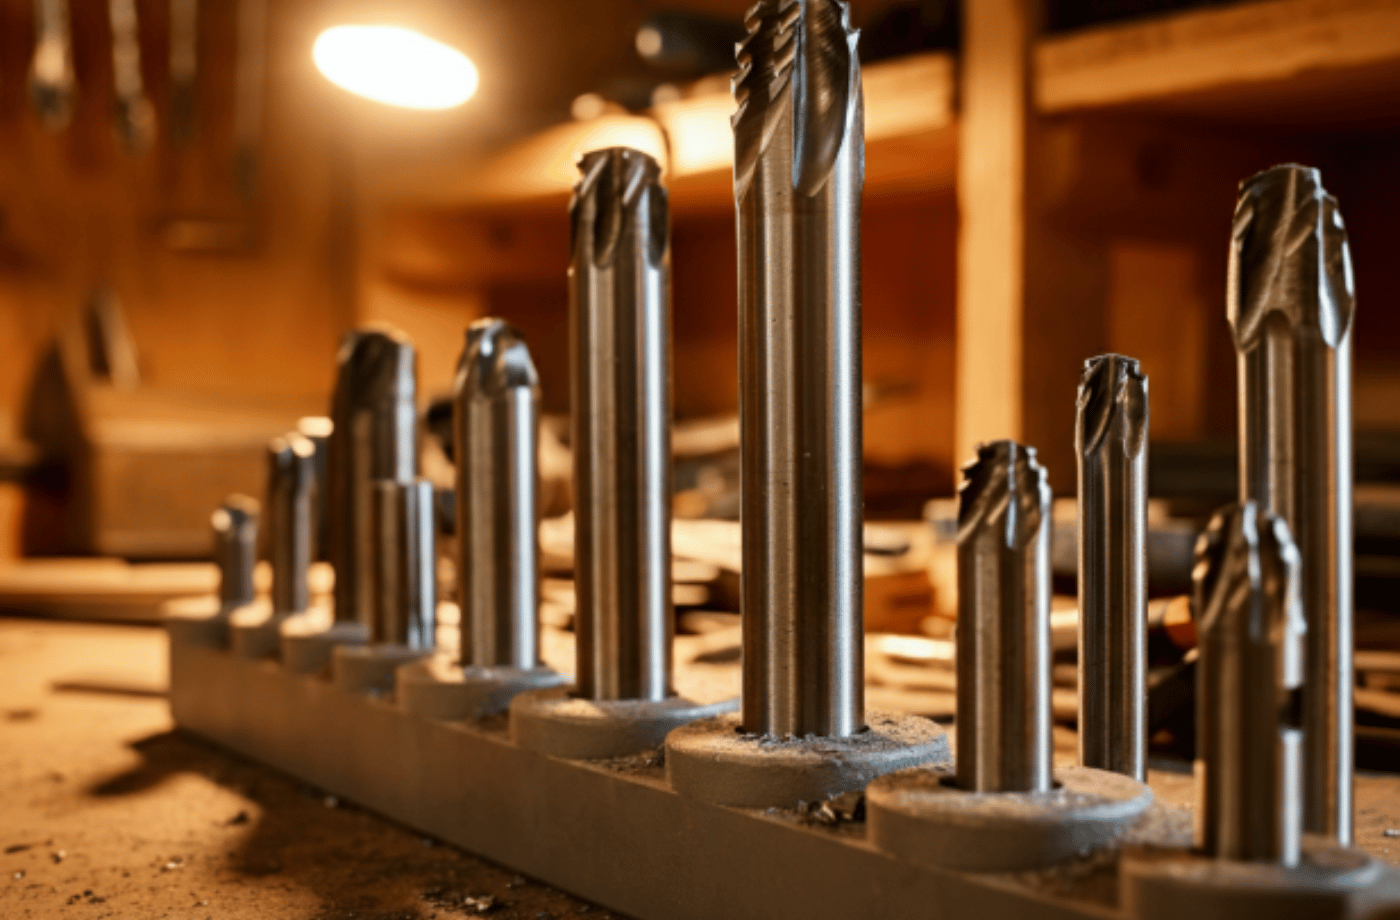
4. Store Your Bits Properly
How you store your SDS drill bits matters more than you might think. Tossing them into a toolbox without protection can lead to physical damage, like chipping or dulling.
- Use a dedicated drill bit case to keep them organized and protected from impact.
- Store them in a dry, cool location to prevent rust or corrosion.
- Make sure bits are separated from other tools to avoid unnecessary wear from bumping against hard metal surfaces.
A little care in storage goes a long way in preserving their condition.
5. Sharpen Your Drill Bits When Needed
Over time, even high-quality SDS drill bits will lose their sharpness, especially when used on hard materials like concrete. A dull bit not only takes more effort to use but it also accelerates wear.
Invest in a quality sharpening tool or take your bits to a professional service to keep the cutting edges sharp. Regular sharpening ensures optimal performance and reduces strain on both the bit and your drill.
Pro tip: Only sharpen when needed. Over-sharpening can reduce the lifespan of your bit.
6. Use the Right Drill Settings
Be mindful of the settings on your hammer drill or rotary hammer when using SDS drill bits. Drilling at incorrect speeds or applying excessive hammering force can cause unnecessary stress on the bit.
- Speed control: Use the recommended RPM for the material you’re drilling into. Lower speeds are usually better for metals, while higher speeds suit softer materials.
- Impact settings: When drilling into softer brick or masonry, try reducing the hammering force to avoid overworking the bit.
- Drilling depth: Many SDS drills allow you to set a drilling depth; this prevents you from drilling too far unnecessarily, which can heat and strain the bit.
7. Avoid Excessive Pressure
Contrary to popular belief, pushing harder won’t make your SDS drill bit work faster. SDS bits are designed to work with minimal pressure, relying on the power of the drill’s motor and hammering mechanism.
Excessive force can bend, overheat, or dull the bit. Instead, allow the tool to do the heavy lifting. If the bit isn’t cutting effectively, stop and inspect it before continuing.
Bonus Tip: Monitor for Signs of Wear
Pay attention to how your SDS drill bits behave during use. Signs like chipping, dullness, or excessive heating signal that the bits need maintenance or replacement. Addressing problems early can prevent complete tool failure in the middle of a project.
Your Drill Bits Deserve Better
With the right care, your SDS drill bits can last significantly longer, saving you money and delivering consistently great results. By following these tips, you can get the most out of your tools and ensure that every drilling project goes smoothly.
Start today by inspecting your current bits, ensuring proper storage, and using the right techniques for your projects. Your future self (and your wallet!) will thank you.